FACELAB · GUIDE
Lipstick: why the same shade looks different on everyone
Lipstick is the only makeup product we eat, wipe onto cups and reapply several times a day. That puts two contradictory demands on it: stay put, and do not dry the lips. Understanding finishes is really just understanding which side of that trade-off you are on today.
Lips first, colour second
Almost everything lipstick gets blamed for happens before it goes on. Colour settling into lines, a dry edge suddenly emphasised, patches after two hours — that is the state of the lips, not the formula in the tube.
Lip skin has no oil glands and barely any outer horny layer. It loses water faster than anywhere else on the face and cannot rebuild its own barrier. So a dry flake on the lip is not dirt to be scrubbed away — it is already damaged skin.
The working order is simple: a gentle scrub or just a damp cloth in small circles, then balm, then a five to ten minute pause while it absorbs, and only then colour. Lipstick applied onto freshly greased lips will slide — the balm needs time.
Finishes: what the names really mean
The words on the packaging describe behaviour more than composition. The difference between them comes down to the ratio of pigment, wax, oils and film formers.
- Matte — high pigment, low oil. The densest colour and the longest wear, but it emphasises every line and any dryness. Best on prepared lips and in warmer weather.
- Satin — the compromise: full colour with a soft sheen. Slightly less wear, far less attention drawn to texture. The most versatile choice if you only want one tube.
- Cream — more oils and waxes, semi-sheer colour, comfortable on the lips. Wears off quickly and bleeds past the edge, so it almost always needs a liner.
- Gloss — a film over the colour. It visually enlarges the lips, because shine reads as volume. The shortest wear, and it catches hair on a windy day.
- Tint — it stains the top layer of skin instead of sitting on it. It will not rub off on a cup, but it is the most drying option and does not come off with ordinary micellar water.
- Lip oil — a near-sheer tint plus care. It is not a replacement for lipstick but a replacement for balm that happens to add colour.
Match the undertone, not the hair colour
The old advice — pink for blondes, red for brunettes — does not hold, because hair colour changes in an hour and undertone does not. Undertone is what decides whether a shade looks like a continuation of your face or something stuck on top of it.
Check it by the veins on the inside of your wrist in daylight. Blue or purple means a cool undertone. Green means warm. If you cannot tell, it is neutral, and you are lucky: almost everything works.
Cool undertones suit shades with blue in them: raspberry, cherry, cool pink, red with a berry cast. Warm undertones suit anything leaning orange: brick, terracotta, peach, brown-red.
The easiest in-store test: swatch on the pad of your thumb, not the back of your hand. The skin there is closest in tone to your lips, so you see the shade as it will actually look.
Nude is the hardest colour
Nude only looks like the safe option. A red either suits you or it does not, and you see it immediately. A nude chosen slightly wrong makes the face look unwell, and the cause is much harder to spot.
The rule of thumb: a nude that works is one or two tones deeper or more saturated than your own lips, not lighter. A shade paler than your natural lip colour erases the border between lips and skin, and the whole face reads as wiped out.
The second rule is the same undertone. Cool skin needs a nude with a pink or mauve base, warm skin one with a beige or caramel base. There is no universal nude, and that is fine.
Liner: not an outline, but a wider foundation
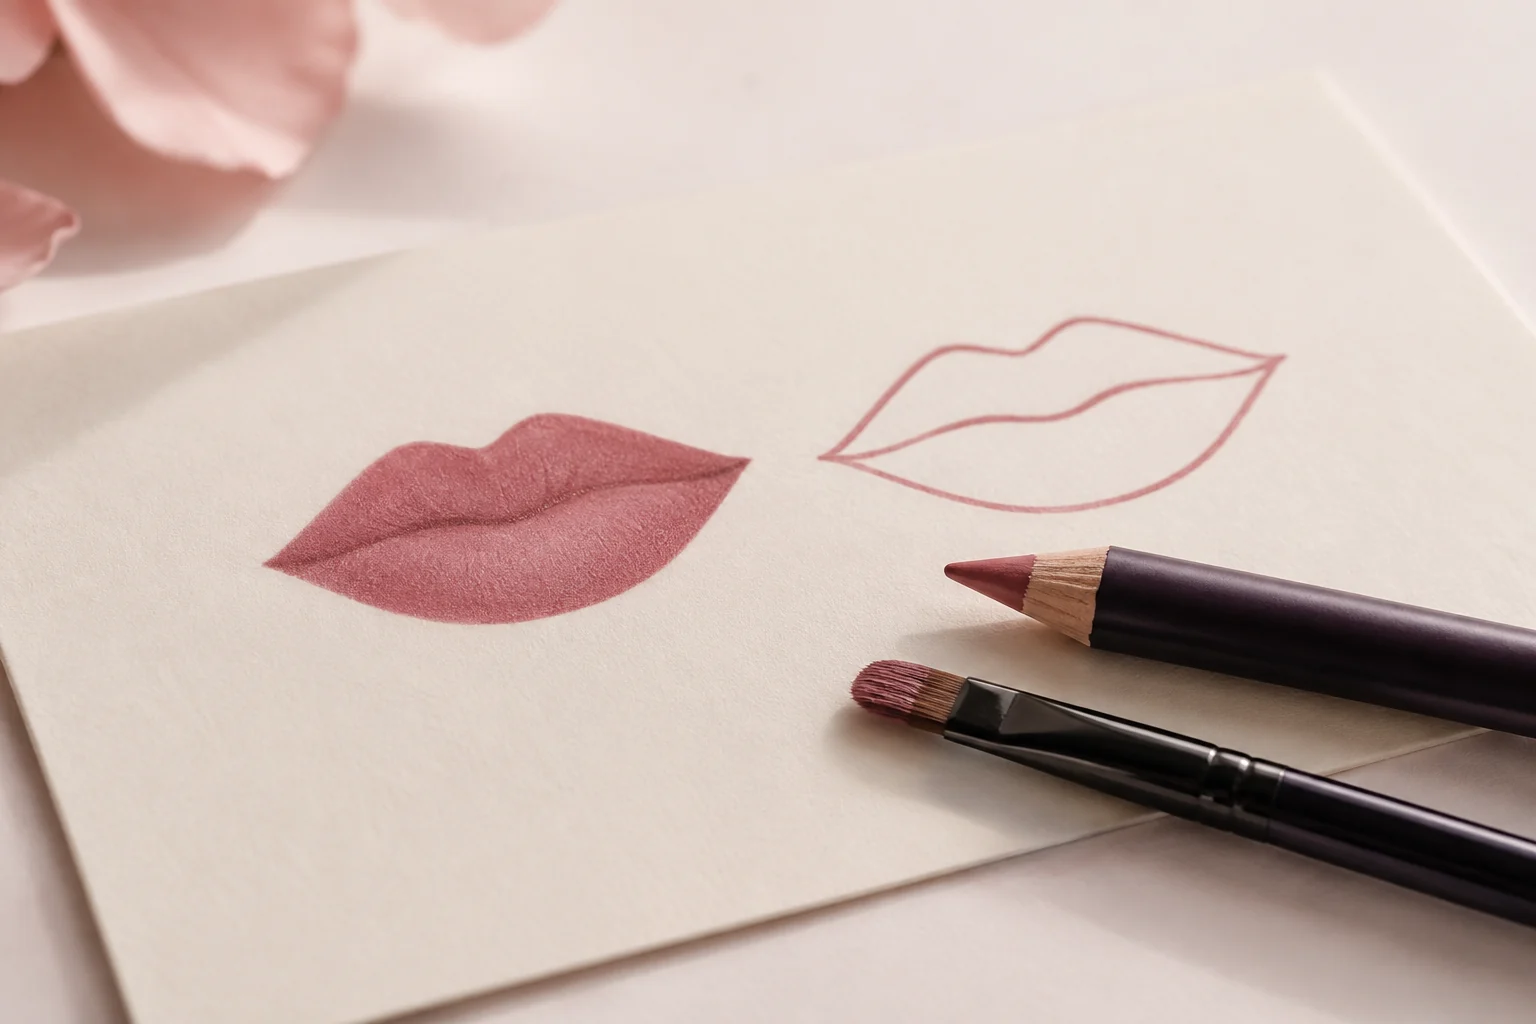
A lip pencil does two different jobs, and confusing them is what produces the drawn-on mouth. The first job is the border, the second is a base under the colour.
As a border, a liner is only needed where the edge is genuinely blurred: in the corners and along the centre of the lower lip. Tracing the whole outline is optional, and the tonal gap between liner and lipstick is exactly what reads as cheap. The pencil should match the lipstick or be at most half a shade deeper.
As a base it works differently: you fill the entire lip surface with the pencil and apply lipstick over it. The colour lasts noticeably longer, and when the top layer wears away, what remains underneath is the same shade rather than bare skin inside a dark frame.
Reshaping the lip line with a pencil works within one or two millimetres of the natural edge. Beyond that, the work becomes visible from across the room.
Applying: from the bullet or with a brush
Straight from the bullet is fine for cream and satin finishes in everyday use — the shape of the bullet follows the lip, and the corners come out neat enough.
A brush is for matte and very bright shades. The reason is not aesthetic: a matte formula lays down as a dense layer, and every unevenness shows. A brush lets you apply thinner and more evenly, and keeps the excess off the inner rim of the lip, which is where lipstick travels onto teeth from.
For maximum wear: a thin layer of colour, blot with a tissue, then a second thin layer. Two thin layers last longer than one thick one and are barely felt on the lips.
To keep lipstick off your teeth, put a clean finger into your mouth after applying and draw it out slowly. The excess from the inner rim comes off on the finger. It looks odd and works better than any product.
Why colour wears off in patches
Even wear is normal: lipstick rubs away where the lips meet each other and food. Patches are a different matter, and preparation is almost always the cause.
The most common one is balm left under the colour. Lipstick grips skin, not a layer of grease, so it slides off the moisturised spots and stays on the dry ones. That is exactly what patchiness looks like.
The second is applying over flakes. Pigment sits on a loose flake, the flake comes away during the day, and a bare gap is left behind.
The third is too thick a layer. A thick layer never sets properly and transfers onto everything you touch, in uneven pieces.
Common mistakes
- Applying colour immediately after balm, without letting it absorb — the lipstick will bleed.
- Picking off dry flakes with nails or a dry scrub — that is an injury, and it leaves the lips drier still.
- Using a liner more than half a shade deeper than the lipstick — the frame becomes a separate feature of the face.
- Choosing a shade to match hair colour rather than skin undertone.
- Swatching on the back of the hand — the tone there is different and the colour lies to you.
- Applying matte lipstick in a thick layer — that is precisely how it highlights every line.
- Reapplying over the old layer without removing it — the new coat sits on a film and lasts minutes.
- Wearing a tint daily with no balm at night — the dryness builds up unnoticed.
The care that solves most of it
A balm with petrolatum, lanolin or wax overnight is the cheapest and most effective thing you can do for your lips. It does not feed them in any literal sense — it blocks evaporation, and the skin repairs itself.
Products with menthol, camphor or a strong fragrance give a fresh sensation and dry the lips out. If your lips stay dry despite using balm, try a week without those; that is often the whole story.
Licking your lips in cold weather works against you: saliva evaporates and takes skin moisture with it. It is a closed loop, and only a balm in your pocket breaks it.
This article is educational and is not medical advice. If cracks in the corners of the mouth do not heal for weeks, that is a reason to see a doctor, not to change lipstick.